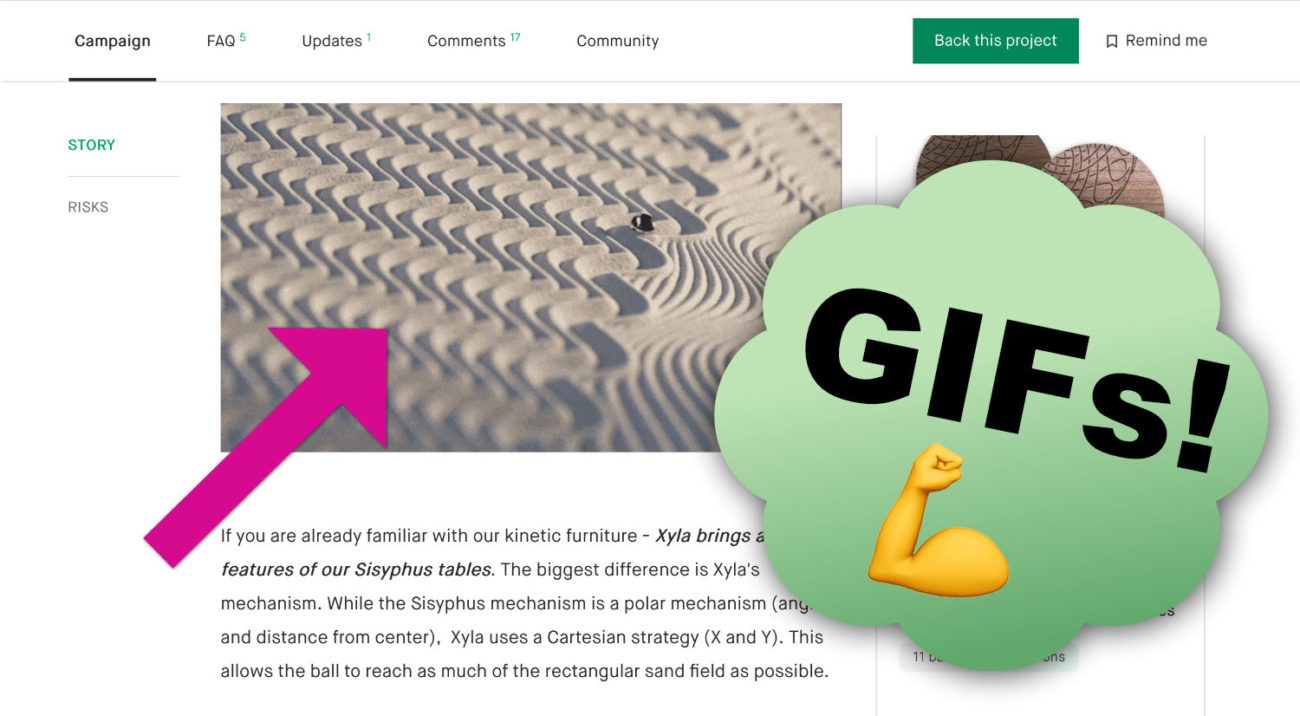
Animated GIFs have become an essential tool for effectively explaining your product on Kickstarter. With short video clips you can demonstrate the unique features and functionality of your product in a captivating and informative way.
Many professional marketers see a significant jump in sales and conversions incorporating GIFs into their content.
In this post, we will guide you through a step-by-step process on how to create animated GIFs using a free online tool called EZGIF. In just a few minutes you’ll be able to enhance your Kickstarter page and give backers a better way to learn about your project.
Step-by-Step Guide to Creating Animated GIFs with EZGIF
Step 1: Choose Your Video
- Start by selecting a video that highlights the key features of your product. This can be a portion of your main campaign video, or another video of your product in action.
- Ensure that the video is not too long, as animated GIFs work best when they are short and to the point.
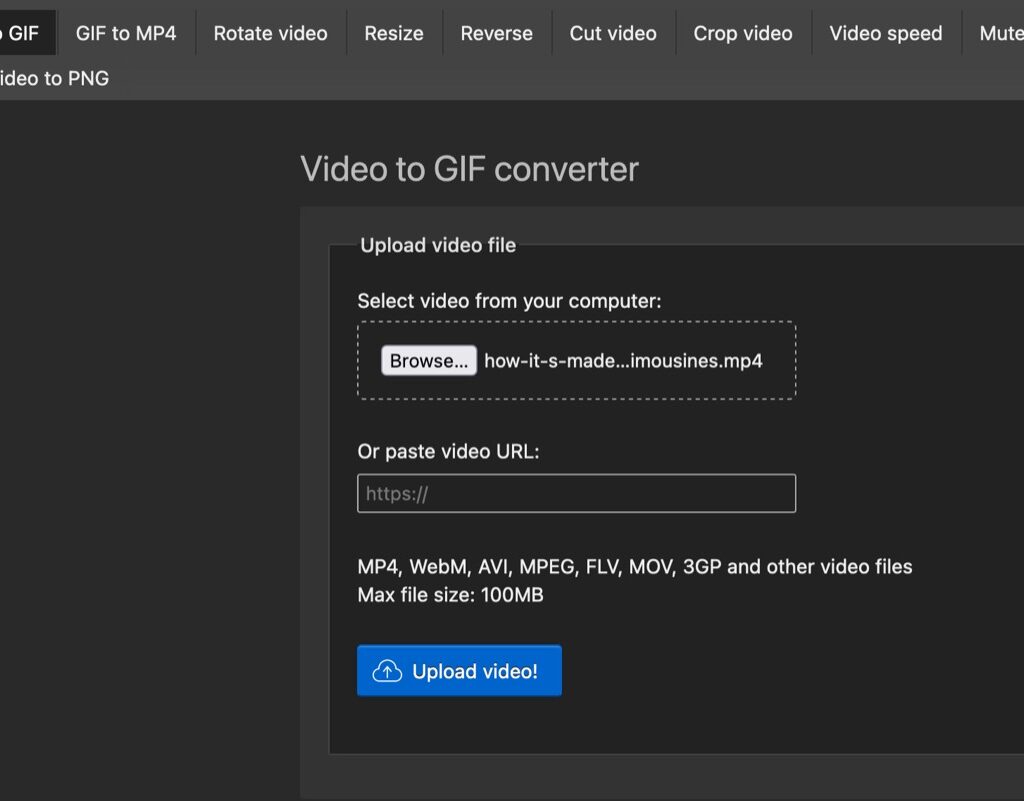
Step 2: Upload Your Video to EZGIF
- Click on “Video to GIF” in the menu.
- Click “Choose File” and select the video you want to convert to a GIF. The majority of common video files (mp4, AVI, MPEG, MOV etc.) are accepted
- Click “Upload video.”
Step 3: Edit Your Video
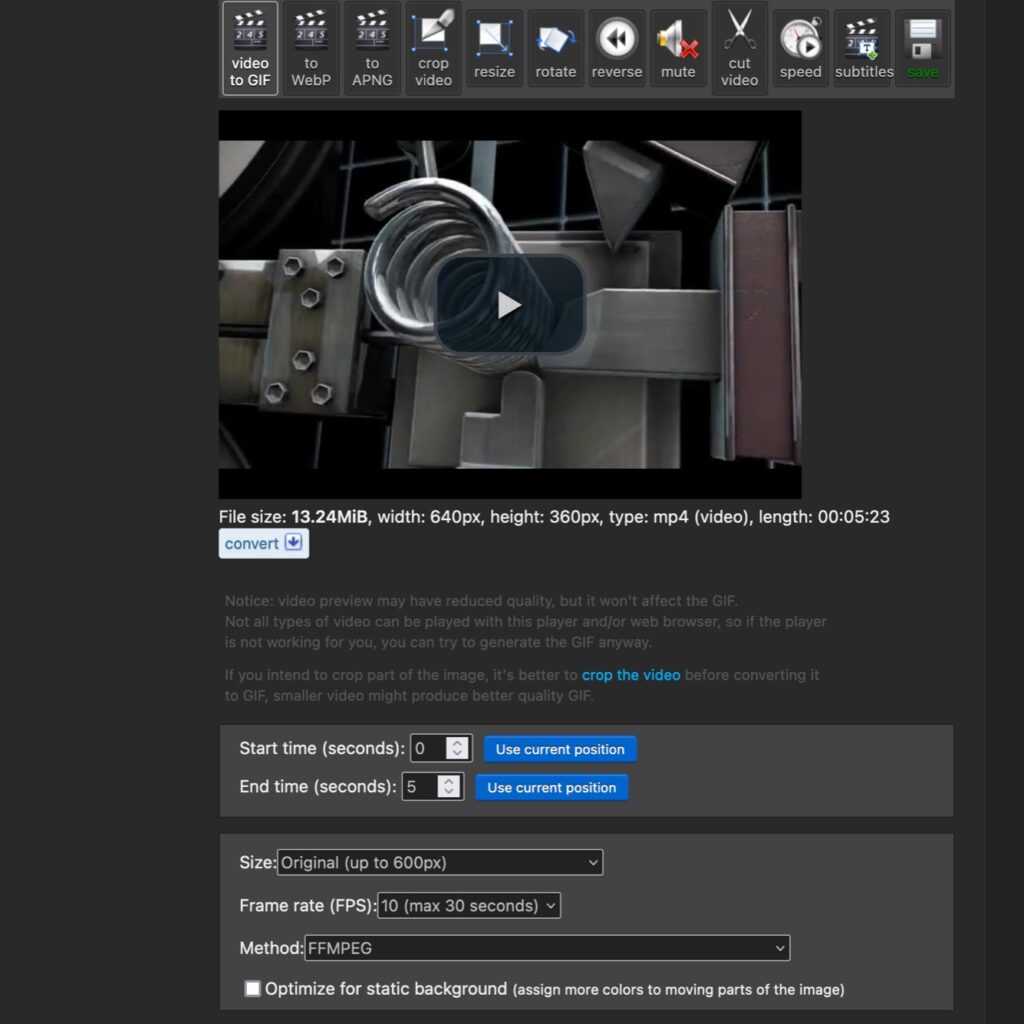
- Once your video has been uploaded, you will be presented with several editing options.
- Adjust the start and end time to select the exact portion of the video you want to convert into a GIF. You can either play the video through and stop at the section you want to capture, or enter the exact seconds in directly.
- If necessary, use the “Crop” tool to remove any unwanted areas from your video.
- Optimize the size and quality of your GIF by adjusting the width, height, and frame rate under the “Resize” and “Frame rate” options. These options can affect the file size of the end result.
Step 4: Convert Your Video to a GIF
- Once you have edited your video to your satisfaction, click on the “Convert to GIF” button.
- The tool will process your video, and within about a minute, your animated GIF will be ready.
- Preview the file to make sure everything looks good.
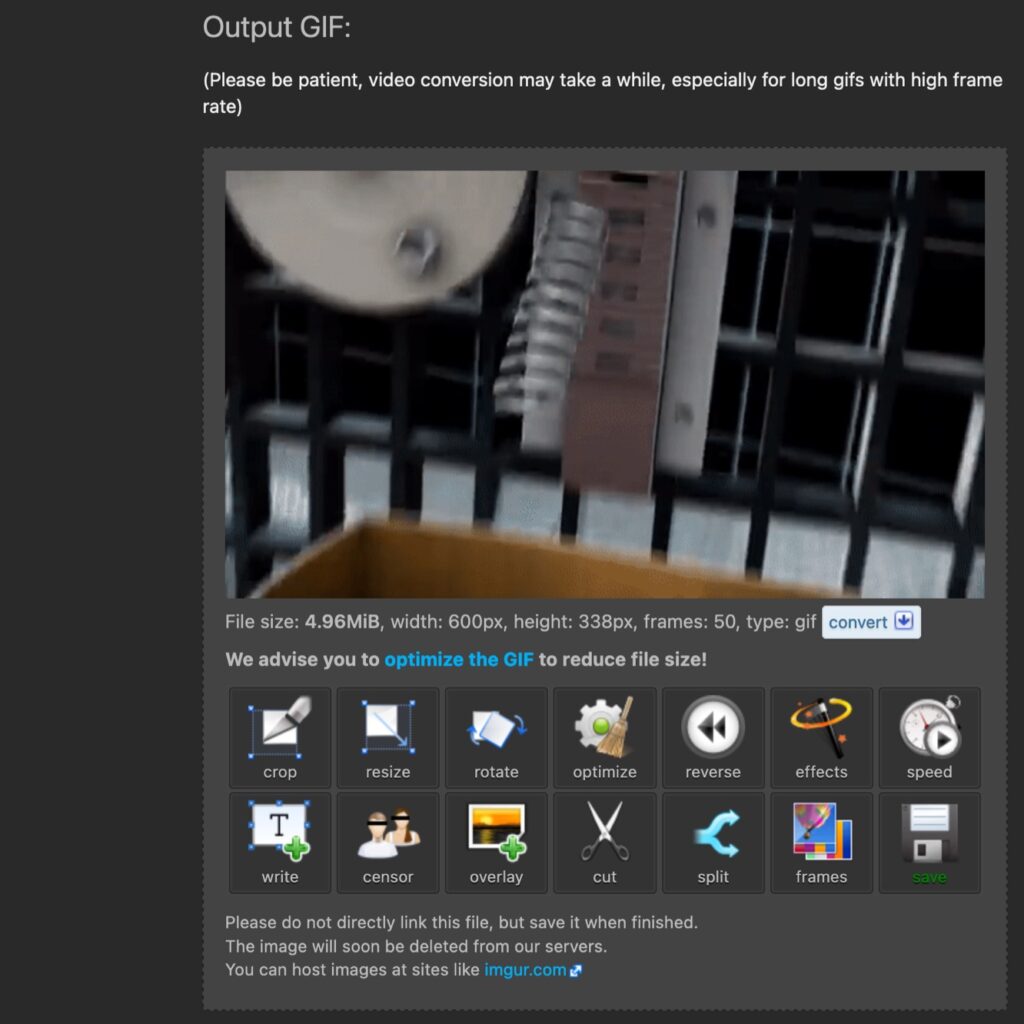
Step 5: Download and Share Your GIF
- If you’re happy with your animated GIF, click on the “Save” button to download it to your computer.
- If the file size is still too big, you can always upload it again to EZGIF’s optimize section.
- Upload the GIF to your Kickstarter page to showcase your snazzy animation. If your image isn’t showing correctly, make sure it’s less than Kickstarter’s limit of 200MB.
Final thoughts
Creating animated GIFs for your Kickstarter page is a simple and effective way to entice potential backers. By utilizing the free EZGIF tool, you can transform your videos into engaging animations that showcase your product’s benefits.
When in doubt about what to include, remember this old advice for screenwriters… “It’s always better to show, than tell!”
Want help assessing your crowdfunding campaign’s GIFs? Submit your project to PageCheck for a detailed analysis.
Add a Comment